
Room Finish Schedules and Finish Plans
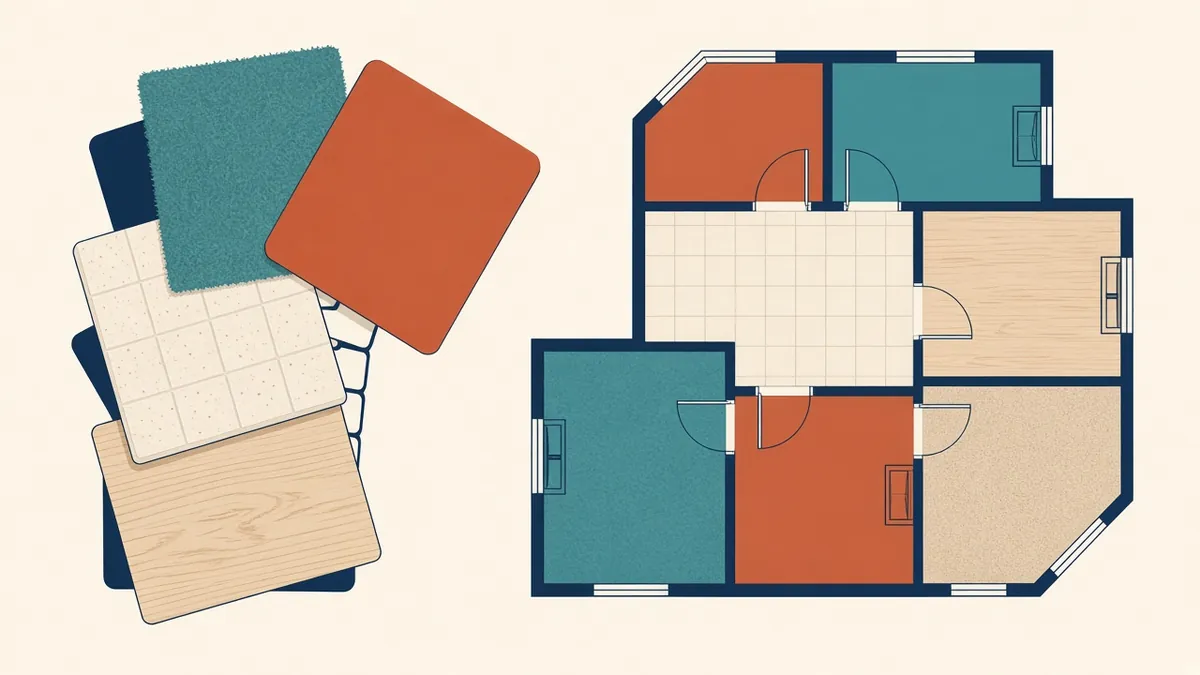
Finishes are what the client actually sees and touches, so a muddled finish schedule shows up in the most visible places.
Interior finishes involve many products across floors, walls, ceilings and skirtings. Documenting them clearly avoids mistakes in ordering and installation, and it helps contractors price accurately.
Two common approaches
- Room finish schedules list each room with its floor, base or skirting, wall and ceiling finishes, usually using finish codes
- Finish plans show finishes graphically on plans, with hatches or tags and a legend
Many projects use both: a schedule for completeness and a finish plan for areas with complex patterns or transitions.
Finish codes
Use a coded system, such as CPT-01 for a carpet type or PT-02 for a paint colour. Each code is described once in a finish legend or the specification, with product, colour and finish. This avoids repeating long descriptions and keeps changes manageable.
What a room finish schedule usually includes
- Room number and name
- Floor finish
- Base or skirting
- Wall finishes, sometimes by wall direction
- Ceiling finish and height
- Remarks, such as feature walls or special requirements
Finish plans
Finish plans work well for:
- Flooring patterns and transitions
- Areas with several finishes in one room
- Feature walls and accent areas
- Thresholds between different floor finishes
Show transition strips and set-out points where patterns matter.
Coordinate with specifications
Finish codes should match the specification exactly. If a product changes, update it in one place and check where the code is used. Mismatches between schedules and specifications are a common source of RFIs.
Generate from the model
Consider performance requirements
Some finishes have performance requirements, such as slip resistance in wet areas, fire performance for wall linings or acoustic performance. These may be governed by codes or client standards. Note requirements in the specification and make sure scheduled finishes meet them.
Check before issue
- Every room has finishes assigned
- All codes used exist in the legend or specification
- Ceiling heights match sections and RCPs
- Wet areas have suitable finishes
- 01Two common approaches
- 02Finish codes
- 03What a room finish schedule usually includes
- 04Finish plans
- 05Coordinate with specifications
- 06Generate from the model
Plan for samples and approvals
Many finishes are approved through samples or mock-ups during construction. Note on the schedule or in the specification which finishes need samples, so the contractor plans for them. Record approved samples against finish codes, and if an approved product differs from the original specification, update the schedule so the record stays accurate.
Clear finish documentation helps contractors build what was designed, and it gives clients confidence that details haven't been left to chance.
If your team needs extra production capacity for work like this, take a look at our Architectural production services, or tell us about your project.
Related articles
Door and Window Schedules That Stay Accurate
What to include, how to generate them and how to keep them in step with the plans.
Read more →
Interior Elevations: When You Need Them and What to Show
Mounting heights, finishes and joinery shown where plans can't.
Read more →
Reflected Ceiling Plans: What to Show and How to Coordinate
Ceiling types, heights, setting out and the devices that share the ceiling.
Read more →