
Architectural Detailing Best Practices for Construction Documents
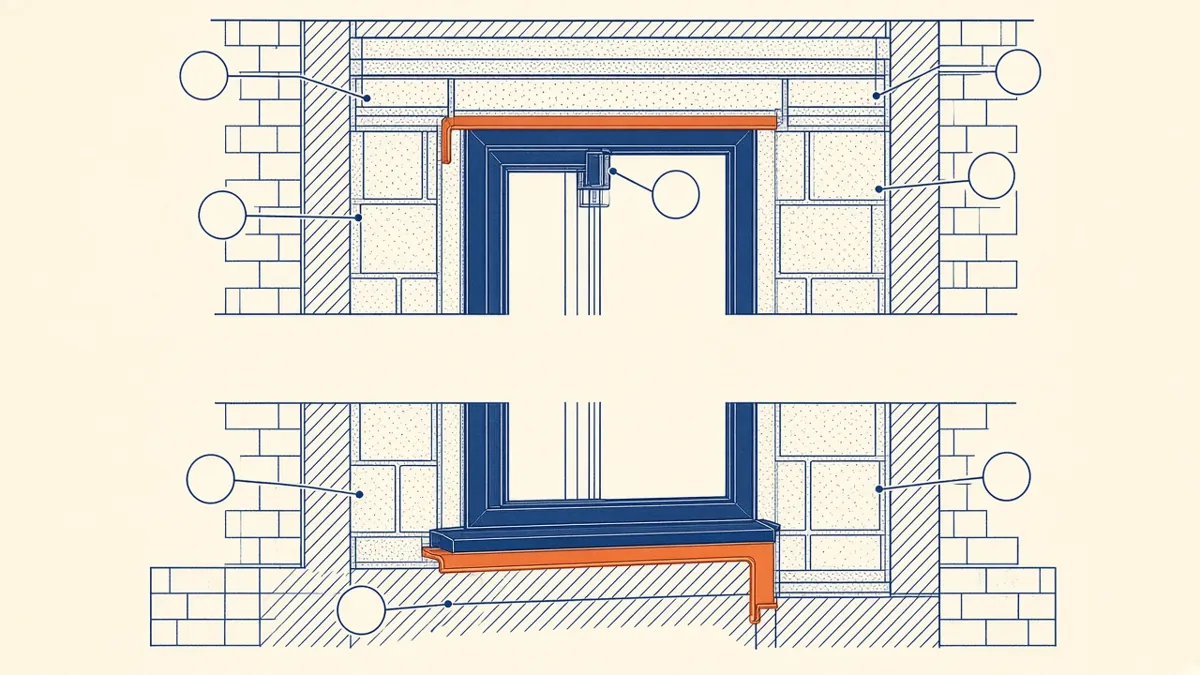
Most leaks, cracks and call-backs start at a junction someone didn't draw. Good details are where design intent finally meets the trowel.
Details are where buildings either work or fail. Most leaks, cold bridges and site disputes trace back to an interface that wasn't drawn clearly. Good detailing isn't about drawing more. It's about drawing the right things, at the right scale, with clear intent.
Decide what really needs a detail
Not every junction needs its own drawing. Focus on interfaces where materials, trades or systems meet:
- Wall to roof, wall to floor and wall to foundation
- Window and door heads, jambs and sills
- Parapets, copings and roof edges
- Changes in cladding or wall type
- Penetrations through fire-rated or weather-resistant layers
- Movement joints and expansion joints
Typical details can cover repeated conditions, as long as every place they apply is referenced.
Pick a scale that shows the layers
Wall sections often sit at 1:20 or 3/4" = 1'-0", while junction details are commonly drawn at 1:5 or 3" = 1'-0", and sometimes larger. The test is simple: can someone see every layer and how it laps, turns or terminates? If not, enlarge it.
Trace the barriers
For any envelope detail, you should be able to trace each continuous line with a pencil without lifting it:
- The water-shedding and waterproofing layers
- The air barrier
- The vapour control layer, where it's needed
- The thermal insulation line
- Fire-resistance or cavity barriers, where they're required
Where a line breaks, the detail needs to show how continuity is achieved, such as with a membrane lap, a sealant joint or a tested product. Highlighting one barrier in colour during review is a quick way to find gaps.
Use consistent graphics
Line weights should separate cut elements from elements beyond. Hatches should match the project legend, and the same material should look the same on every sheet. Keep a library of standard material hatches and line styles in the template, so details from different team members look like they came from one hand.
Annotate with intent
- Label materials generically and refer to the specification for products
- Note dimensions that matter for performance, such as minimum laps, falls and clearances
- Avoid long paragraphs on drawings; if a note needs a paragraph, it probably belongs in the specification
- Use keynotes where the project standard allows, to keep sheets clean
Draw details from the model where you can
In Revit, sectioning the model and adding detail components on top keeps details tied to real geometry. If the wall type changes, the section reflects it. Purely 2D drafted details are still useful for typical conditions, but they should be checked whenever the model changes.
Check against manufacturers' requirements
Many envelope systems have installation guidance that affects laps, fixings and tolerances. Detailing to that guidance supports warranties and makes the contractor's job clearer. Note any condition where a manufacturer's standard detail has been adapted.
Coordinate with structure and services
A beautiful detail fails if a steel beam or a duct sits where the insulation should be. Check details against the structural and MEP models, particularly at roof edges, floor slabs and ceiling voids.
- 01Decide what really needs a detail
- 02Pick a scale that shows the layers
- 03Trace the barriers
- 04Use consistent graphics
- 05Annotate with intent
- 06Draw details from the model where you can
Review before issue
If your team needs extra production capacity for work like this, take a look at our Architectural production services, or tell us about your project.
Related articles
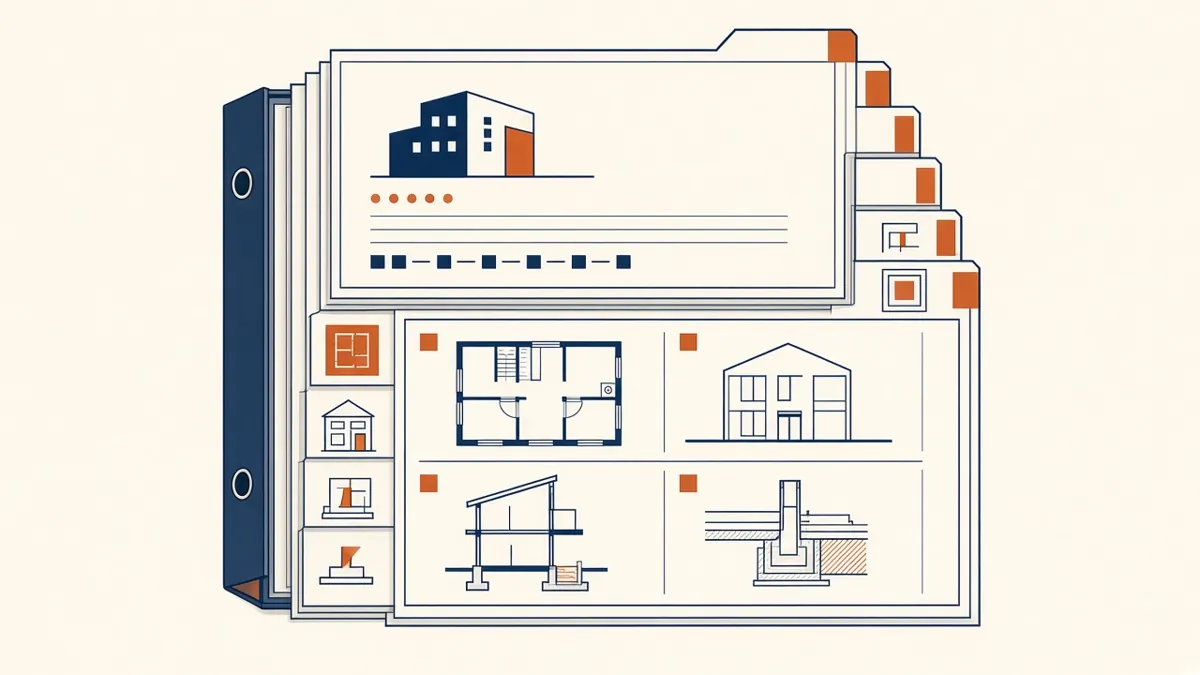
How to Structure a Construction Document Set
The order, content and logic of a well-built CD set, and why structure saves time on site.
Read more →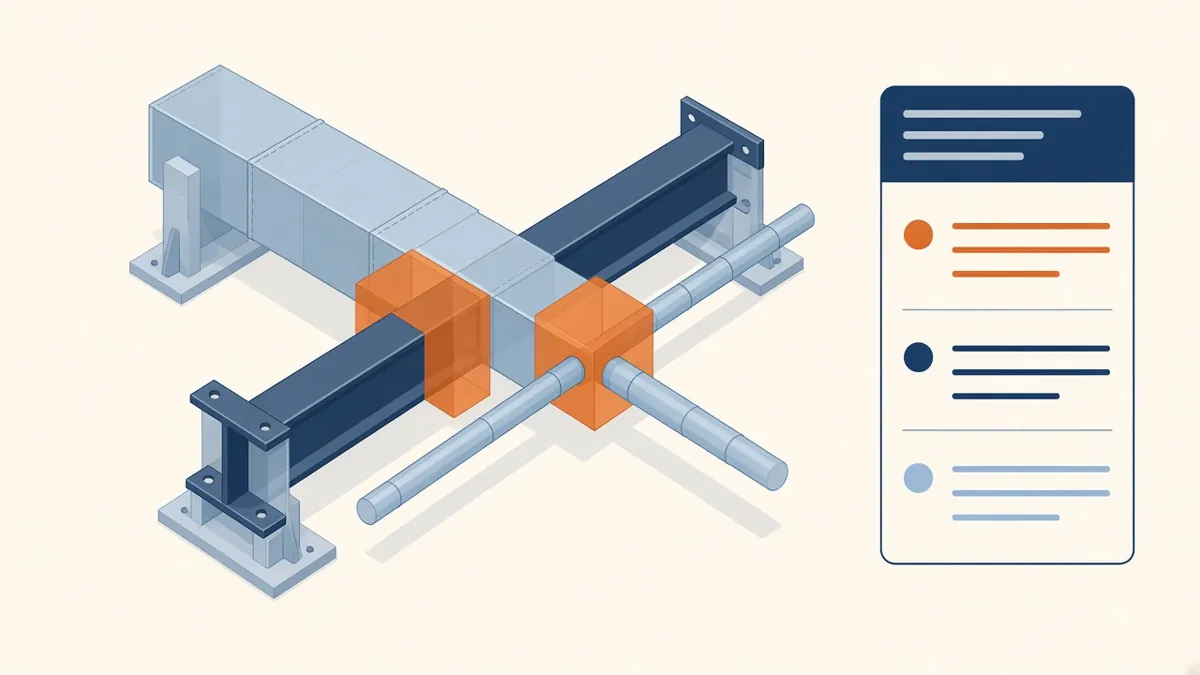
Clash Detection Explained for Architecture Teams
Hard clashes, clearance clashes and how to turn clash reports into decisions.
Read more →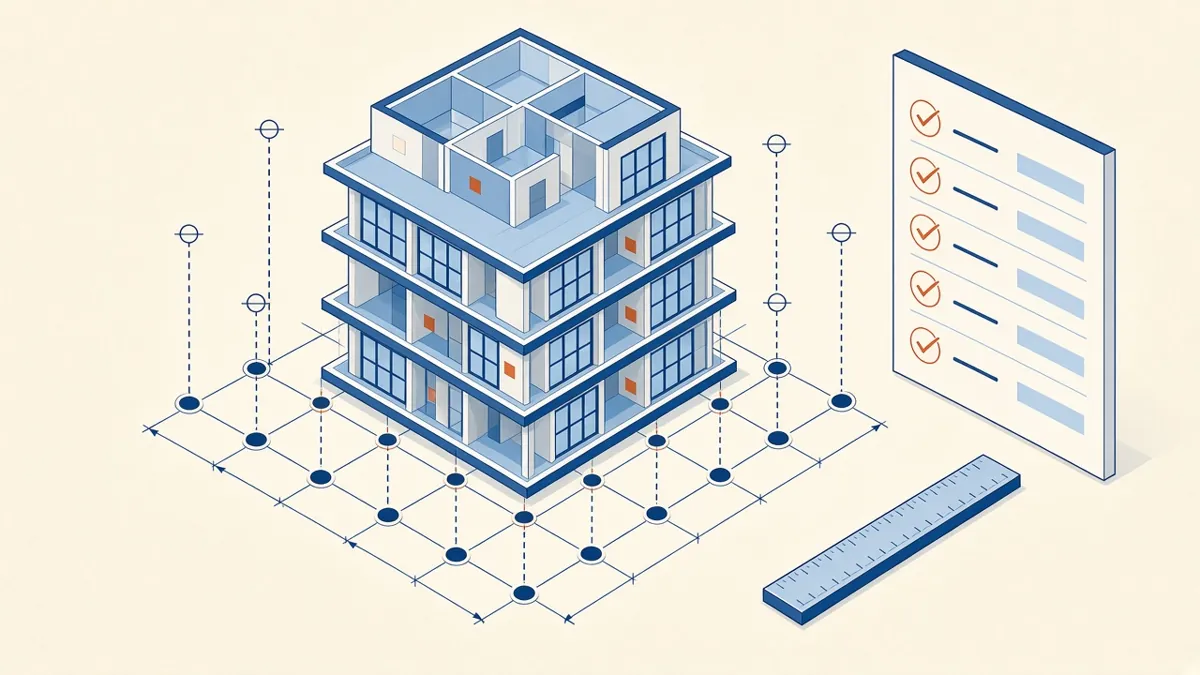
Model Accuracy Checks for Revit and BIM Projects
Practical checks that keep a BIM model accurate, healthy and trustworthy.
Read more →